


The following tutorial is a beginner guide on Brute Force attack by using the Burp suite.
In this article, we have demonstrated the web login page brute force attack on a testing site “testphp.vulnweb.com”.
Also check the Video at the end of the Tutorial
Burp Suite: Burp Suite is a Java-based Web Penetration Testing framework. It has become an industry-standard suite of tools used by information security professionals. Burp Suite helps you identify vulnerabilities and verify attack vectors that are affecting web applications.
You can Download BurpSuite New Edition here
Brute Force Attack : Brute force plays a vital role in web penetration testing because is the simplest method to gain access to a site or server by checking the correct username or password by calculating every possible combination that could generate a username or password.
What is a dictionary/ wordlist?
Dictionary or Wordlist is a collection of words which are quite useful while making brute force attack. There are several tools which let you generate your dictionary that you can use in brute force attack.
Requirements?
- BurpSuite
- Any Browser (We use chrome here)
- Network Proxy
- Demonstrate Link testphp.vulnweb.com
First, ensure that Burp is correctly configured with your browser. If not then follow the following steps.
To configure Burp Suite demonstrate. Follow the steps.
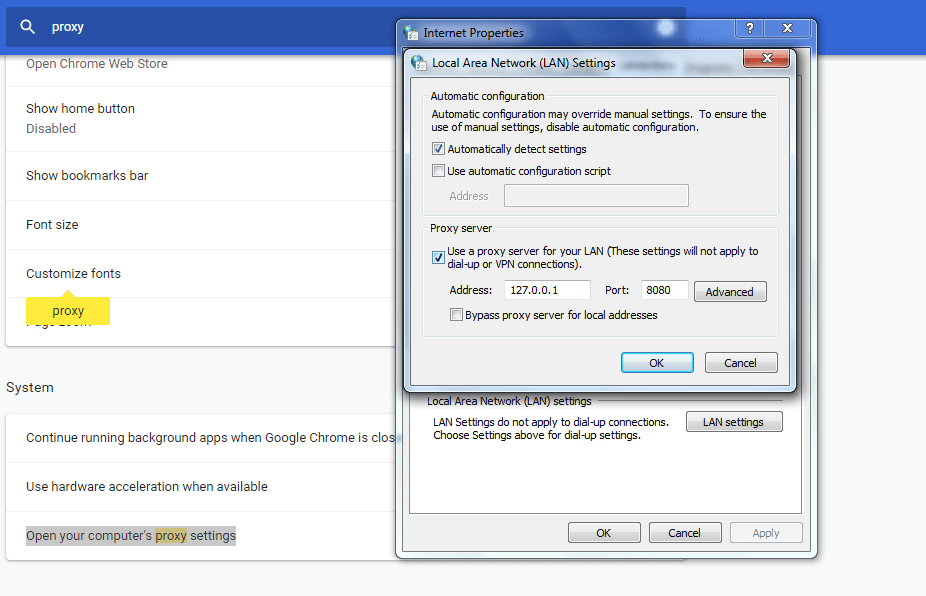
First Go to your browser settings and in the search box type proxy then select open proxy settings > In connection tabs > Lan settings > Tick Use a proxy server for your LAN > (127.0.0.1 port number 8080) then Click ok .
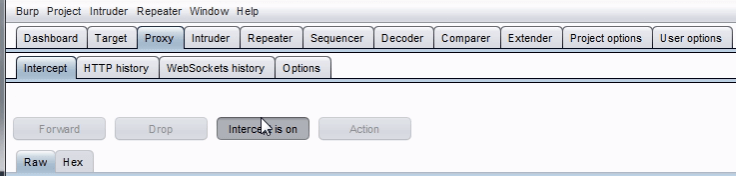
Now open Burp Suite.
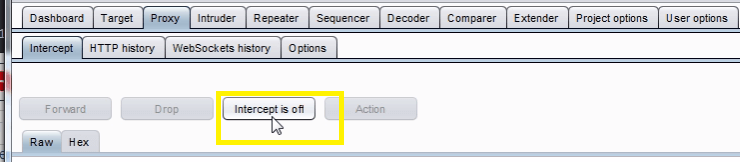
In the Burp Proxy tab, ensure “Intercept is off” and visit the login page of the application you are testing in your browser.
Turn on Intercept
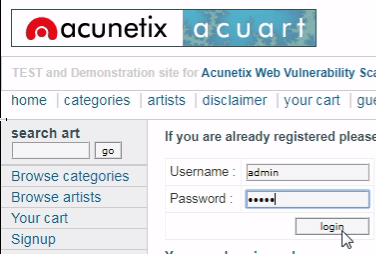
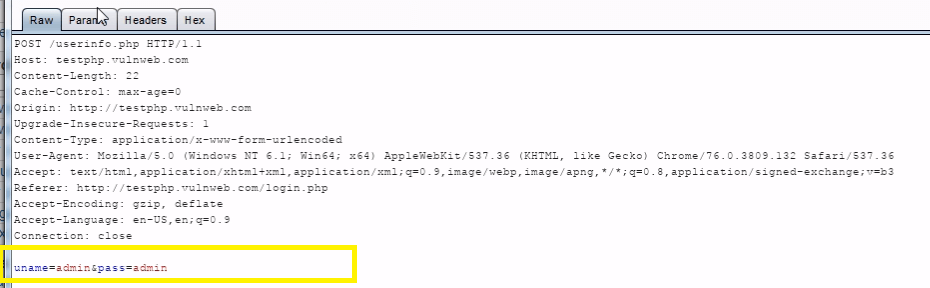
In your browser enter the random username and password, then submit the request to intercept the browser request using burp suite.
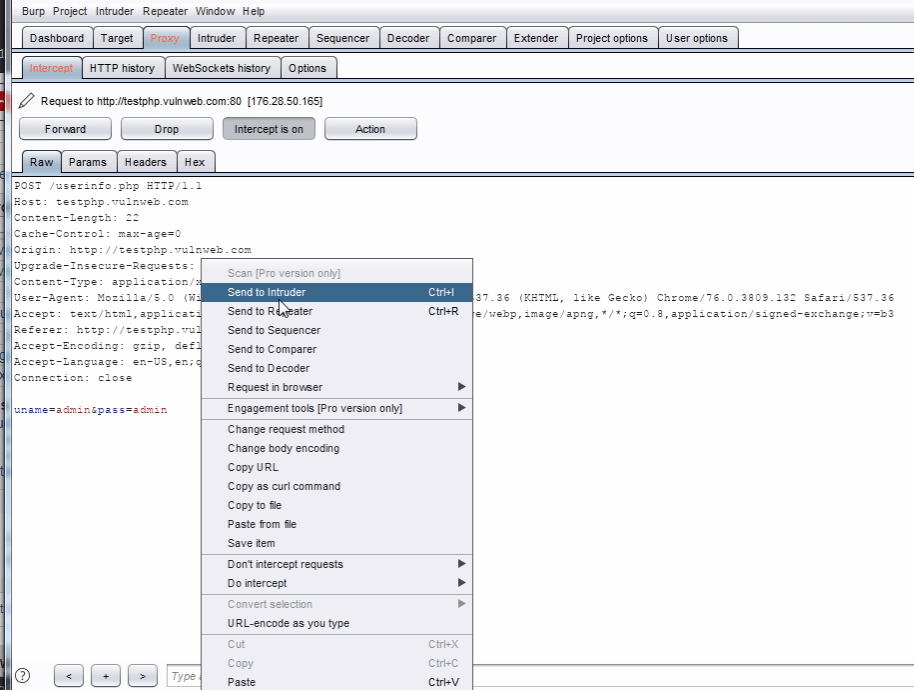
Right click on the request to bring up the context menu and click “Send to Intruder”.
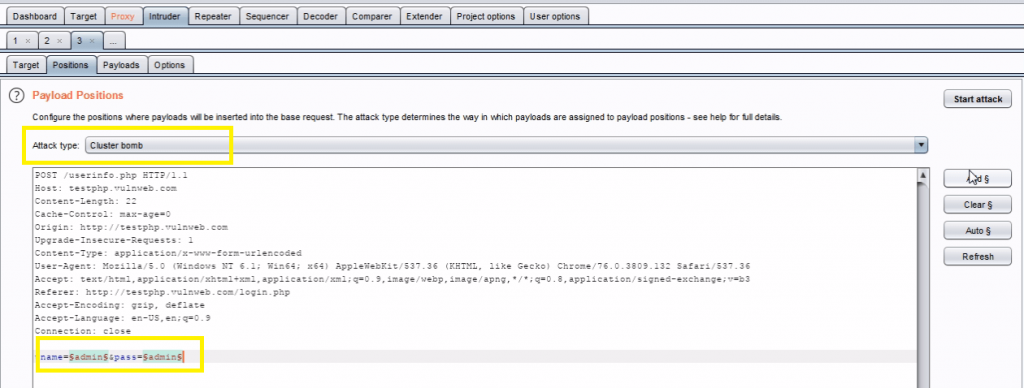
Then select the Positions tab and follow the below steps:
- Change the attack to “Cluster bom*b” using the “Attack type” drop down menu.
- Clear the pre-set payload positions by using the “Clear” button on the right of the request editor and click add for set payload.
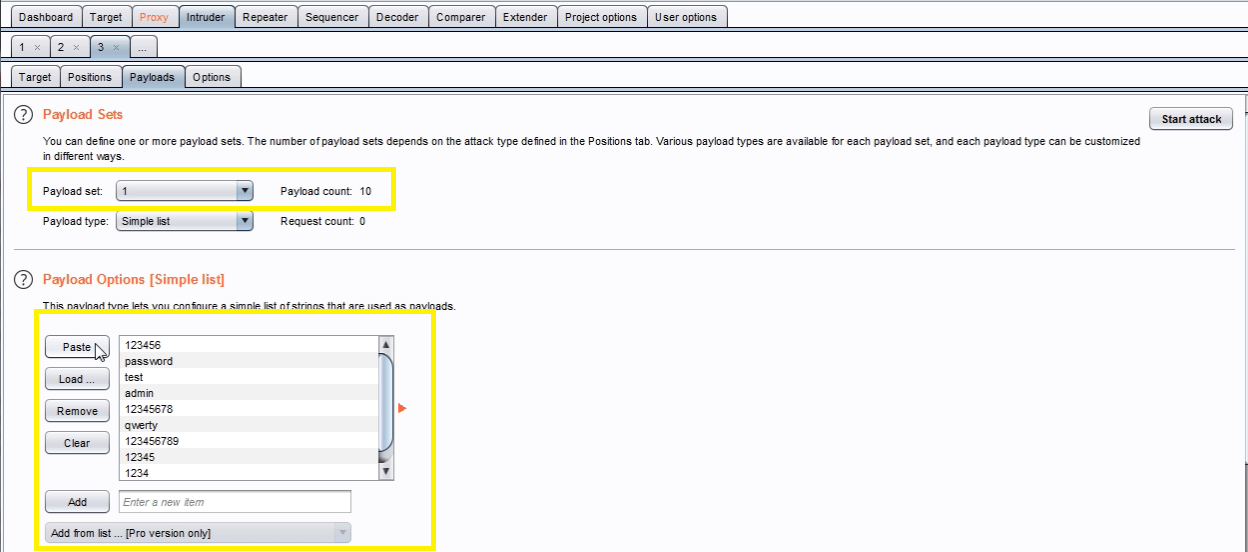
Go to the “Payloads” tab. In the “Payload sets” settings, ensure “Payload set” is “1” and “Payload type” is set to “Simple list”.
In the “Payload options” settings enter some possible usernames. You can do this manually or use a custom or pre-set payload list.
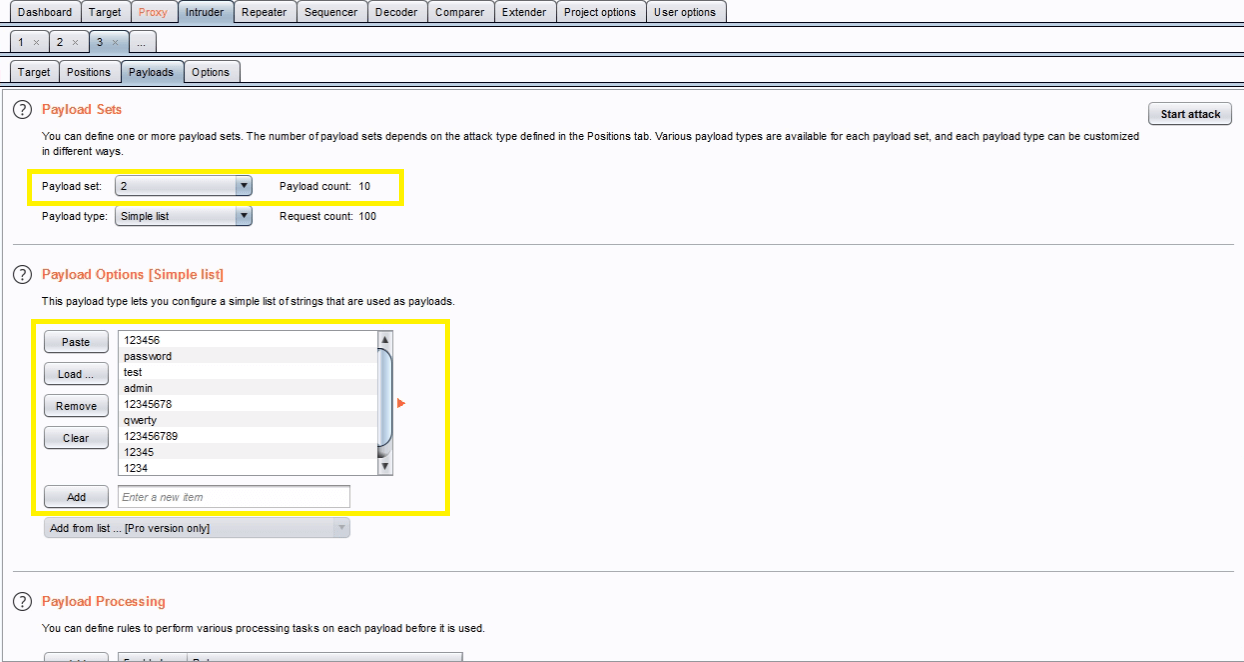
Next, in the “Payload Sets” options, change “Payload” set to “2”.In the “Payload options” settings enter some possible passwords. You can do this manually or using a custom or pre-set list.
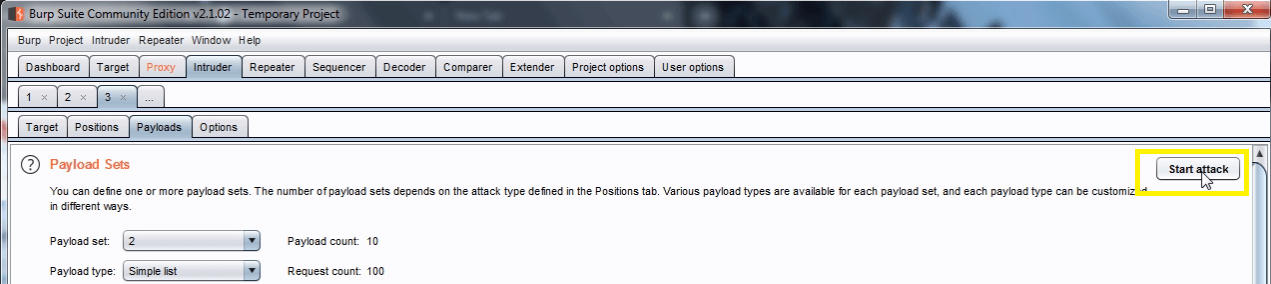
Click the “Start attack” button.
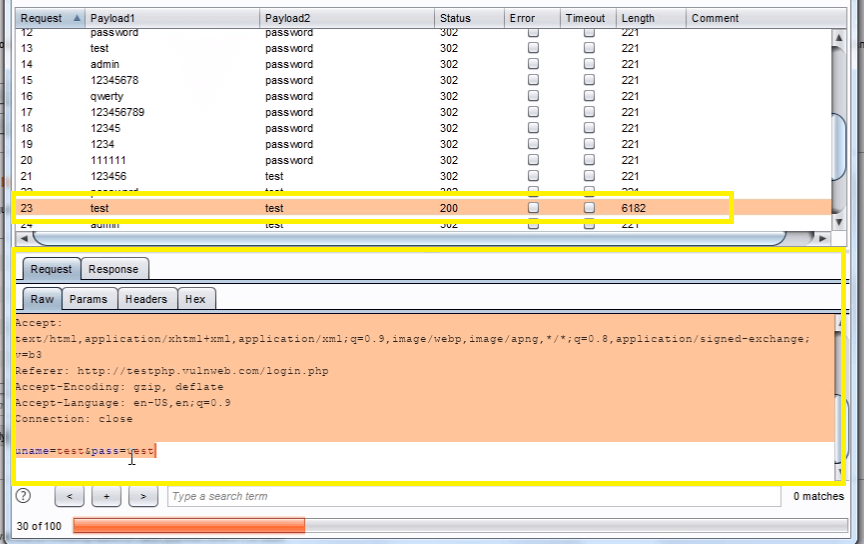
In the “Intruder attack” window, you can sort the results using the column headers. In this example sort by “Length” and by “Status”.

The table now provides us with some interesting results for further investigation.
By viewing the response in the attack window we can see that request 6182 is logged in as “test“.
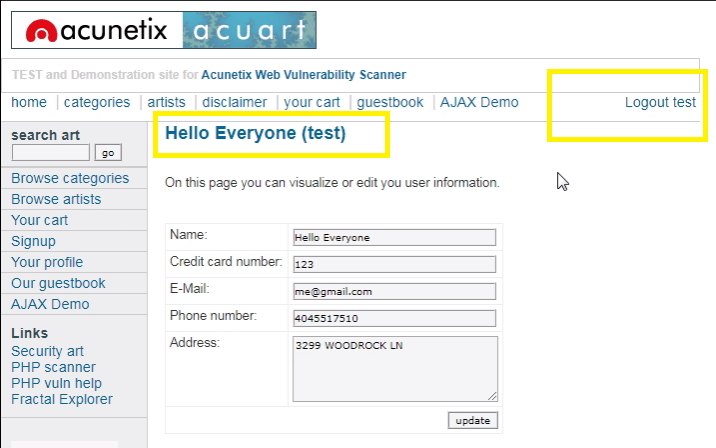
To confirm that the brute force attack has been successful, use the gathered information (username and password) on the web application’s login page
Copy the Raw text of request
Paste the Raw text request in the Proxy tab > Intercept > Raw
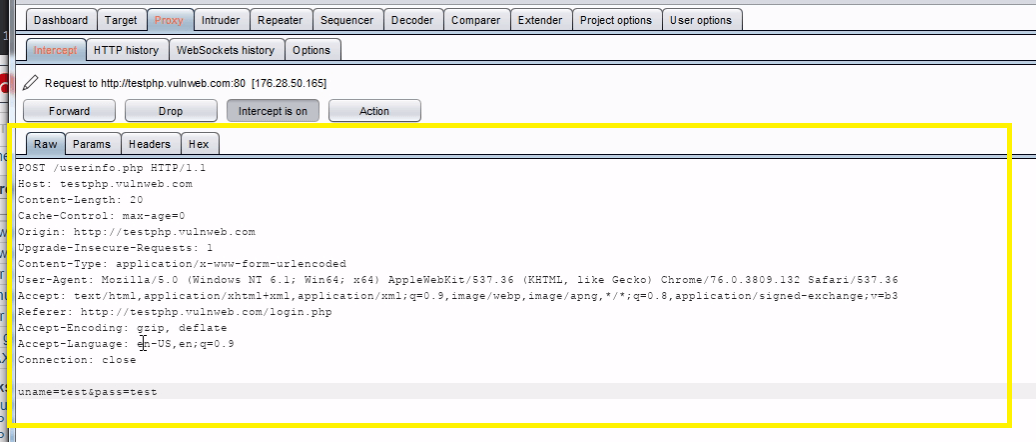
Click on forward request and see the result
Watch Video Tutorial
Disclaimer: This tutorial is Knowledge Purpose only.