


Memory forensics is the crown jewel of incident response. While disk forensics tells you what happened in the past, memory analysis reveals what is happening right now—exposing decrypted passwords, injected malware, network connections, and unlinked processes that never touch the hard drive. At the center of this discipline is Volatility, the industry-standard open-source framework.
With the release of Volatility 3, the framework underwent a massive architectural overhaul. If you are still relying on old Volatility 2 tutorials, you will be lost. This comprehensive memory forensics volatility 3 guide will bridge that gap, providing incident responders with the exact syntax, plugin cheat sheet, and advanced hunting techniques required to analyze modern Windows and Linux memory dumps.
Also Read: Digital Forensics Tutorial: Evidence Collection and Analysis Guide (2026)
Before diving into commands, it is critical to understand how Volatility 3 differs from its predecessor. If you are transitioning from Volatility 2, the old habits must be unlearned.
- No More Profiles: Volatility 2 required you to manually identify and specify an OS profile (e.g., Win10x64_19041). Volatility 3 automatically identifies the OS version and loads the correct symbol table (ISF - Intermediate Symbol Format) on the fly.
- Python 3 Native: Volatility 3 is built exclusively for Python 3. The old vol.py script is replaced by the vol command-line executable.
- Namespaced Plugins: Plugins are now organized by OS. Instead of pslist, you now use windows.pslist, linux.pslist, or mac.pslist.
- JSON Output: Volatility 3 natively supports rendering output in JSON, making it infinitely easier to pipe into SIEMs, jq, or custom Python scripts.
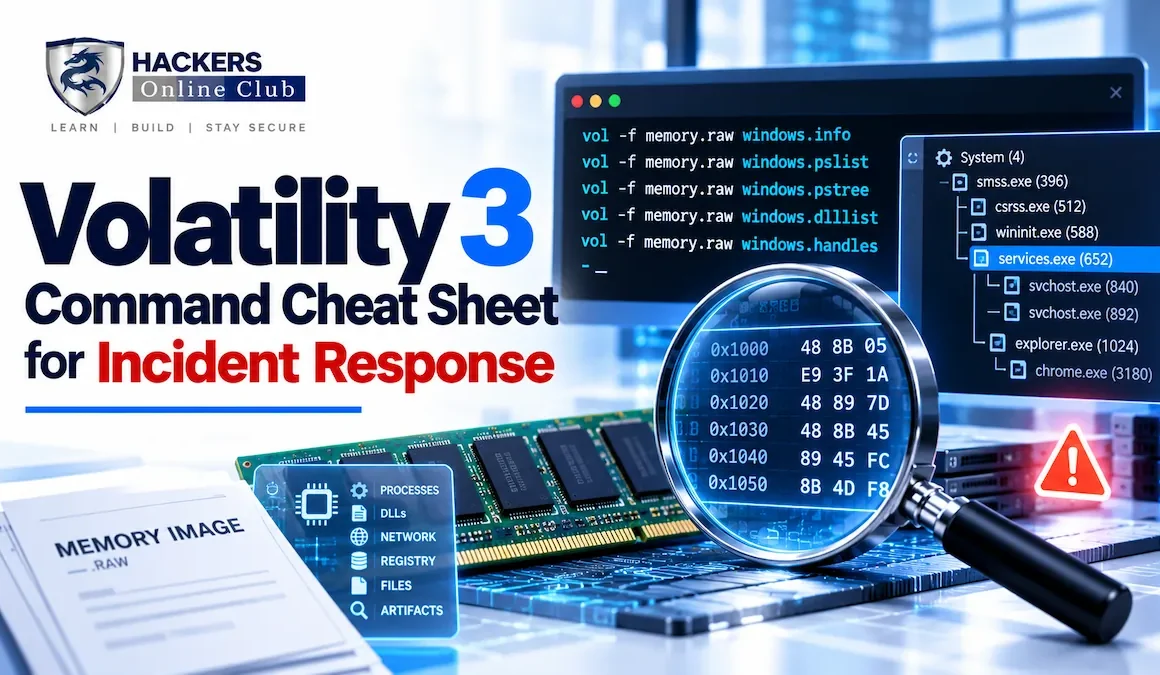
The core syntax for Volatility 3 is remarkably clean and intuitive.
Keep this memory forensics volatility 3 guide cheat sheet bookmarked for rapid triage during an active incident.
| Category | Volatility 3 Command | Purpose |
|---|---|---|
| Process Listing | windows.pslist | Lists processes by walking the EPROCESS linked list (can be unlinked by rootkits). |
| Process Scanning | windows.psscan | Scans physical memory for EPROCESS objects. Finds hidden/unlinked processes. |
| Command Lines | windows.cmdline | Extracts the full command-line arguments for running processes. |
| DLL Listing | windows.dlllist --pid <PID> | Lists all DLLs loaded into a specific process's memory space. |
| Network Connections | windows.netscan | Finds active and historical TCP/UDP connections and listening ports. |
| Malware Injection | windows.malfind | Scans for memory regions with RWX (Read/Write/Execute) permissions and MZ headers. |
| YARA Scanning | windows.vadyarascan --yara-file rule.yar | Scans process memory for specific YARA signatures. |
| File Scanning | windows.filescan | Scans memory for _FILE_OBJECT structures (finds dropped files in RAM). |
| Dump Files | windows.dumpfiles --physaddr <OFFSET> | Extracts a file from memory to disk using its physical offset. |
| Registry Hives | windows.registry.hivelist | Lists all loaded registry hives in memory. |
| Registry Keys | windows.registry.printkey --key <KEY> | Prints the values of a specific registry key. |
| Hash Dumping | windows.hashdump | Extracts NTLM hashes from the SAM hive in memory. |
| Linux Processes | linux.pslist | Lists processes in a Linux memory dump. |
| Linux Bash History | linux.bash | Extracts bash command history from memory. |
The primary goal of memory forensics in incident response is to find code that the attacker is trying to hide. Modern malware rarely writes itself to disk; it injects directly into legitimate processes.
The windows.malfind plugin looks for Virtual Address Descriptors (VADs) that have both Execute and Write permissions, and contain the MZ (DOS) header, indicating a hidden PE file.
If you are hunting for a specific threat actor or a known fileless implant, use vadyarascan to scan the memory of specific processes or the entire physical memory.
Attackers must communicate with their Command and Control (C2) infrastructure. windows.netscan is your primary tool for mapping the network state of the compromised machine at the exact moment the memory dump was captured.
Even in a "fileless" attack, the operating system caches files and registry keys in RAM. You can often extract dropped payloads or persistence mechanisms directly from the memory dump.
Attackers often use the Registry for persistence (e.g., Run keys, Services). Because the Registry is loaded into memory, you can query it without needing the disk.
During a major incident, running commands manually is too slow. You can automate the triage process using bash scripts or Python, leveraging Volatility 3's JSON output.
Volatility 3 relies on ISF (Intermediate Symbol Format) files to parse kernel structures. If it cannot identify the exact Windows build of the memory dump, it will fail. To fix this, you must either download the correct ISF file from the Volatility 3 symbol server or generate it yourself using the isf tool against the corresponding ntoskrnl.exe and ntdll.dll from the compromised machine. Ensure your file:/// or https:// symbol paths are correctly configured in your Volatility 3 environment variables.
windows.pslist walks the active doubly-linked list of EPROCESS structures in the kernel. If a rootkit unlinks a malicious process from this list to hide it, pslist will not see it. windows.psscan, on the other hand, performs a raw pool tag scan across the entire physical memory. It will find the EPROCESS object even if it has been unlinked from the active list. Comparing the output of both is a classic technique for detecting DKOM (Direct Kernel Object Manipulation) rootkits.
Yes. Volatility 3 has robust support for Linux and macOS. The syntax remains the same, but you change the namespace. For example, use linux.pslist, linux.bash, linux.check_syscall, or mac.pslist, mac.lsmod. Note that Linux and macOS kernel structures change frequently, so ensuring you have the correct ISF/dwarf files for the specific kernel version is critical.
For Windows, you can use windows.hashdump to extract NTLM hashes from the SAM hive in memory, or windows.lsadump for cached domain credentials. To find plaintext passwords, you would typically use windows.vadyarascan with YARA rules designed to match the memory structures of WDigest, LSASS, or specific browser credential managers. (Note: Modern Windows 10/11 systems disable WDigest by default, making plaintext extraction much harder without specialized tools).