


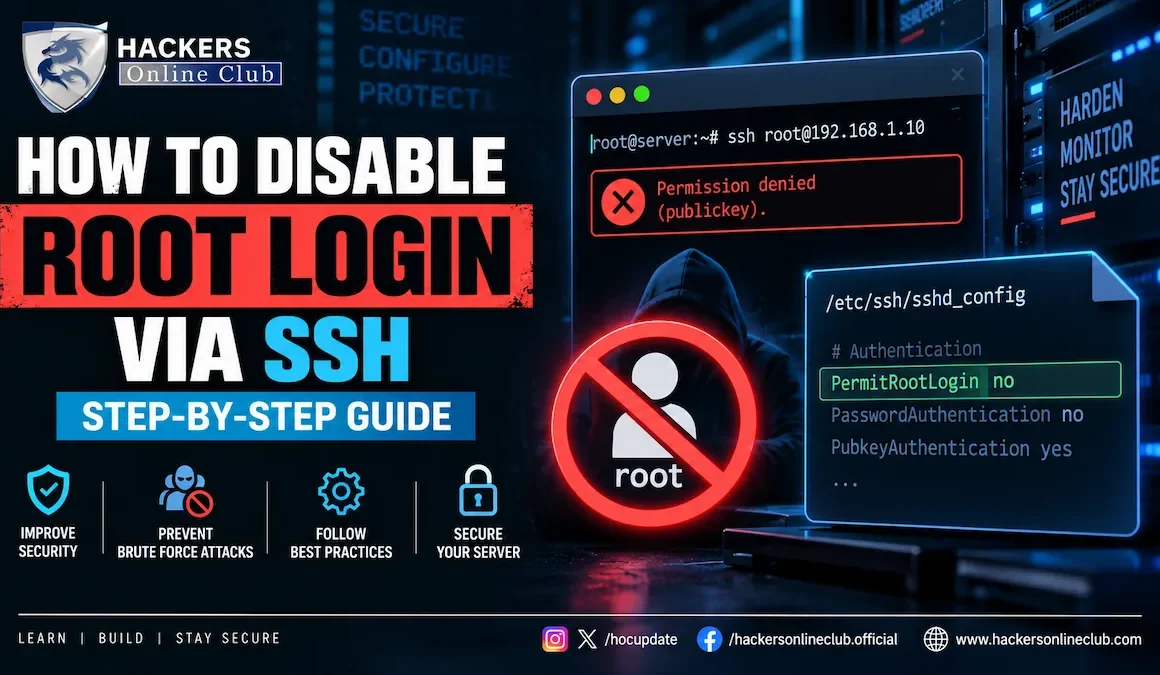
How to Disable Root Login via SSH: Step-by-Step Guide (2026)
If you check the authentication logs on any Linux server connected to the public internet, you will see a terrifying reality: automated bots are constantly trying to brute-force the root account.
By default, many Linux distributions allow the root user to log in directly via SSH. While this is convenient when you first provision a server, it is a massive security liability. The username "root" is universal. An attacker only needs to guess the password (or crack the key) to gain absolute, unrestricted control over your entire system.
Also read: Linux Kernel Published 440 Security Advisories— In 24hrs Here’s Why
Disabling direct root SSH login is one of the most critical, high-impact security hardening steps you can take. It forces attackers to guess both the username and the credential, instantly neutralizing 99% of automated brute-force attacks.
This guide will walk you through the exact, safe process of disabling root SSH access. We will cover the crucial prerequisite (creating a sudo user so you don't lock yourself out), the exact configuration changes, and how to verify the setup.
Average Brute Force Attempts: 5,000+ per day on a newly provisioned public IP.
Targeted Username: "root" accounts for ~65% of all SSH brute-force attempts.
Time to Disable Root: Less than 3 minutes.
Security Impact: Eliminates the majority of automated credential-stuffing attacks.
Industry Standard: Required by CIS Benchmarks, PCI-DSS, and SOC 2 compliance frameworks.
- Why You Must Disable Root SSH Access
- CRITICAL PREREQUISITE: Create a Sudo User
- Step 1: Backup Your SSH Configuration
- Step 2: Edit the sshd_config File
- Step 3: Restart the SSH Service
- Step 4: Verify the Configuration (Do Not Skip!)
- Additional SSH Hardening Best Practices
- Troubleshooting: "I locked myself out!"
- Frequently Asked Questions
1. Why You Must Disable Root SSH Access
Before we change the configuration, let's understand the security principles behind this action.
- Principle of Least Privilege: Users should operate with the minimum level of access required. You should log in as a standard user and only elevate to root privileges (via
sudo) when a specific task requires it. - Accountability and Auditing: If five administrators share a server and all log in as "root", the logs will only show "root did X." If they log in as "alice", "bob", and "charlie" and use
sudo, the logs will show exactly who executed the command. - Brute-Force Mitigation: Automated botnets scan the internet 24/7 trying to guess the password for the "root" user. By disabling root login, you make their job exponentially harder—they now have to guess both the username and the password.
2. CRITICAL PREREQUISITE: Create a Sudo User
sudo (or wheel) privileges, you will permanently lock yourself out of the server. Do not proceed to Step 1 until you have completed this section and verified your new user can execute administrative commands.
If you already have a non-root user with sudo access, you can skip to Step 1. If you are currently logged in as root and this is your only user, follow these steps to create a safe administrative account.
For Ubuntu / Debian Systems:
For CentOS / RHEL / AlmaLinux / Rocky Linux:
3. Step 1: Backup Your SSH Configuration
Before modifying any critical system configuration, always create a backup. If you make a syntax error in the SSH config, you could break the SSH daemon and lock yourself out.
Log in as your new sudo user (or root, if you haven't switched yet) and run:
This creates a timestamped backup of your current configuration.
4. Step 2: Edit the sshd_config File
Now we will modify the SSH daemon configuration file to disable root access.
Use the search function in nano (Ctrl + W) to find the line that starts with PermitRootLogin. It might look like one of the following:
Change this line so it reads exactly:
📋 Understanding the Options
| Directive | What It Does | Recommendation |
|---|---|---|
PermitRootLogin yes |
Allows root to log in via password or SSH key. | Never use. Highly insecure. |
PermitRootLogin prohibit-password |
Allows root to log in, but only via SSH keys (blocks passwords). | Acceptable if you strictly use SSH keys and need direct root access for automated backups. |
PermitRootLogin no |
Completely blocks the root user from logging in via SSH. | Recommended. The most secure option. |
Save the file and exit nano (Ctrl + O, Enter, then Ctrl + X).
5. Step 3: Restart the SSH Service
For the changes to take effect, you must restart the SSH daemon. The command varies slightly depending on your Linux distribution.
6. Step 4: Verify the Configuration (Do Not Skip!)
This is the most important step. You must verify that the change worked before you close your current terminal session.
- Open a brand new terminal window on your local computer.
- Attempt to log in as root:
ssh root@your_server_ipYou should immediately receive a
Permission deniedorAccess deniederror. This confirms root login is successfully disabled. - Attempt to log in as your new sudo user:
ssh newadmin@your_server_ipYou should successfully log in. Run
sudo whoamito confirm you still have administrative privileges.
If both tests pass, congratulations! Your server is now significantly more secure. You can safely close your old terminal window.
7. Additional SSH Hardening Best Practices
Disabling root login is a great first step, but it's not the only thing you should do. To truly secure your SSH daemon, implement these additional controls:
⚡ The Ultimate SSH Hardening Checklist
- Disable Password Authentication: Passwords can be brute-forced. SSH keys cannot. Once you have SSH keys set up for your sudo user, open
/etc/ssh/sshd_configand setPasswordAuthentication no. This makes brute-force attacks mathematically impossible. - Install Fail2Ban: Fail2Ban monitors your SSH logs and automatically updates your firewall to ban IP addresses that show malicious signs (like too many failed password attempts). Command:
sudo apt install fail2ban - Change the Default Port: SSH runs on port 22 by default. Changing it to a non-standard port (e.g., 2222 or 49152) won't stop a determined attacker, but it will eliminate 99% of automated, dumb botnet scans. Directive:
Port 49152 - Restrict SSH Access by IP: If you only access your server from a specific office or home IP, use your firewall (UFW, iptables, or AWS Security Groups) to only allow SSH traffic from that specific IP address.
8. Troubleshooting: "I locked myself out!"
It happens to the best sysadmins. You disabled root login, closed your terminal, and realized your new user doesn't have sudo access, or you made a typo in the sshd_config file.
How to recover access:
- Cloud Servers (AWS, DigitalOcean, Linode, Vultr): Log into your cloud provider's web dashboard. Almost all of them offer a "Web Console," "VNC," or "Rescue Mode" feature. This gives you direct, browser-based terminal access to the server, bypassing SSH entirely. Log in as root, fix the
sshd_configfile, and restart the service. - Physical Servers: Plug in a monitor and keyboard, or use the IPMI/iLO/DRAC out-of-band management interface to access the console directly.
- Prevention: Always keep a secondary "break-glass" SSH key or console access method documented in your company's password manager.
9. Frequently Asked Questions
Why should I disable root login via SSH?
Disabling root login via SSH is a critical security best practice. It forces attackers to guess both the username and the password (or key) to gain access, drastically reducing the success rate of brute-force attacks. It also improves auditability, as you can track exactly which administrative user performed a specific action via sudo logs.
What happens if I disable root login and don't have a sudo user?
If you disable root SSH login and do not have an alternative user with sudo (or wheel) privileges, you will permanently lock yourself out of the server via SSH. You will need to use your cloud provider's web console (VNC/Rescue mode) or physical access to the server to revert the changes in the sshd_config file.
How do I create a sudo user in Linux before disabling root?
On Ubuntu/Debian, run: sudo adduser newadmin followed by sudo usermod -aG sudo newadmin. On CentOS/RHEL/AlmaLinux, run: sudo adduser newadmin followed by sudo usermod -aG wheel newadmin. Always test the new user's sudo access in a new terminal window before closing your root session.
What is the difference between 'PermitRootLogin no' and 'prohibit-password'?
PermitRootLogin no completely blocks the root user from logging in via SSH, regardless of the authentication method. PermitRootLogin prohibit-password allows the root user to log in, but only using SSH keys (blocking password-based logins). For maximum security, no is highly recommended.
How do I verify that root login is disabled?
Open a new terminal window and attempt to SSH into the server as root (e.g., ssh root@your_server_ip). You should receive a "Permission denied" or "Access denied" error. Then, log in using your new sudo user to ensure administrative access still works.
How do I re-enable root login if I need it temporarily?
Log in as your sudo user, open the SSH config file with sudo nano /etc/ssh/sshd_config, change PermitRootLogin no back to yes (or prohibit-password), save the file, and restart the SSH service using sudo systemctl restart sshd.
Written by the HOC Team at Hackers Online Club — a cybersecurity community trusted by Linux system administrators, DevOps engineers, and security professionals since 2010. 15+ years of practical server hardening guides, infrastructure security tutorials, and enterprise compliance resources. Learn more about HOC →